Suppose you have created a project in Visual Studio 2017 using C# (C-Sharp) language and now you want to create EXE (Executable) file to deploy or for testing purposes. A project can be a Console application or Windows Forms application, etc.
In Visual Studio, the EXE file can be created by the building the project. When you build a project in Visual Studio, it creates the EXE file and put all the required project files into a location, specified in the configuration of Visual Studio 2017. Below I am giving the steps to create an EXE file of a project in Visual Studio 2017.
Create An EXE File in Visual Studio 2017
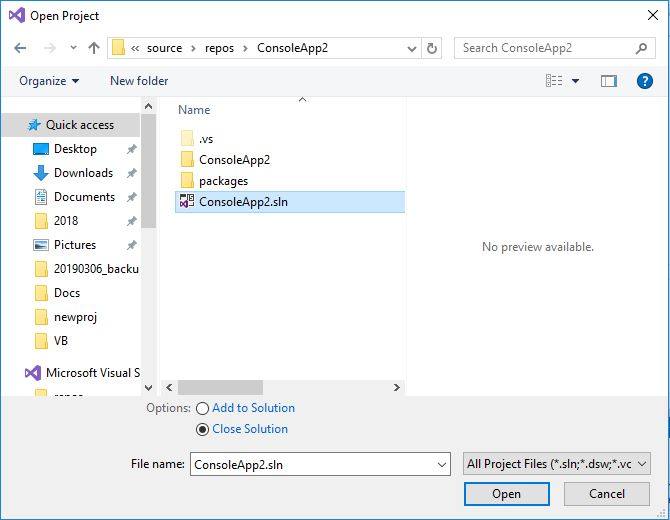
- In Visual Studio 2017, open your project as shown in the below image:
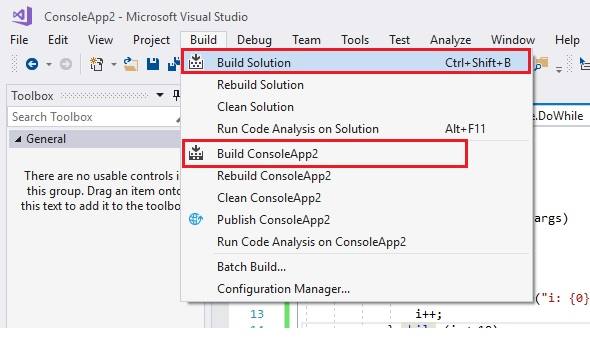
- Then click on the menu Build > Build Solution option or click on the Build > Build ConsoleApp2 (it will show your project name after Build). As shown in the below image
If your project has no errors, then it will successfully build and create the EXE file and will show you its location below in the Output window. As shown in the below image:

You can copy the path above to find the EXE file and other files. For the above build, you can find the files at the following folder:
C:\Users\Administrator\source\repos\ConsoleApp2\ConsoleApp2\bin\Debug\