In this tutorial, you will learn how to add a copy button to all <pre> tags in an HTML page.
Mostly, it is required by the programmers who are writing blogs to share their knowledge. And for code snippets, the <pre> tag is used, so it is better to provide the copy button for each code snippet on the page for the user's convenience.
To do this, follow the below steps to add the CSS and jQuery code:
Add Copy Button to All PRE Tags on an HTML Page
Step-1: Add jQuery
Add the jQuery support to your page if not already added.
Step-2: Add CSS
Add the following CSS code between the <head></head> tags:
<style type="text/css">
  	.pre-wrapper{
	position:relative;
}
.pre-wrapper pre{
	padding-top: 25px;
}
.pre-wrapper .copy-snippet {
	border-radius: 0;
	min-width:55px;
	background: none repeat scroll 0 0 transparent;
	border: 1px solid #bbb;
	color: #26589F;
	font-family: 'HELEVETICA',sans-serif;
	font-size: 12px;
	font-weight: normal;
	line-height: 1.42rem;
	margin: 0;
	padding: 2px 3px 2px 3px;
	text-align: center;
	text-decoration: none;
	text-indent: 0;
	position:absolute;
	background:#ccc;
	top:0;
	left:0;
}
.pre-wrapper .copy-snippet:disabled{
	color:#555;
}
  </style>
Step-3: Add the jQuery Code to Create the Copy Button for all PRE tags
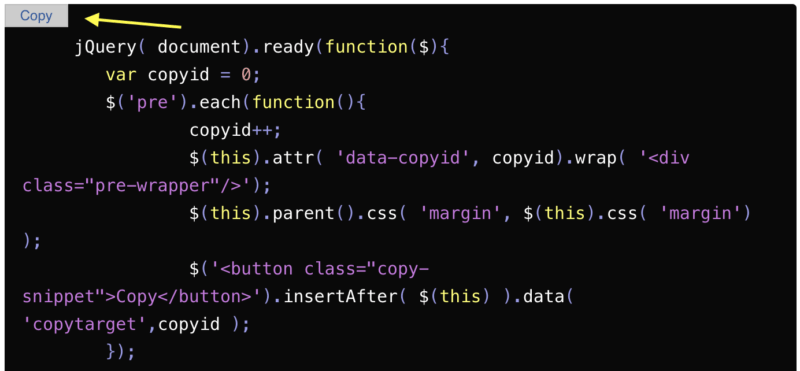
Now add the following jQuery code right above the closing </body> tag inside the tag:
     jQuery( document).ready(function($){
	var copyid = 0;
	$('pre').each(function(){
		copyid++;
		$(this).attr( 'data-copyid', copyid).wrap( '<div class="pre-wrapper"/>');
		$(this).parent().css( 'margin', $(this).css( 'margin') );
		$('<button class="copy-snippet">Copy</button>').insertAfter( $(this) ).data( 'copytarget',copyid );
	});

	$('body').on( 'click', '.copy-snippet', function(ev){
		ev.preventDefault();

		var $copyButton = $(this);

		$pre = $(document).find('pre[data-copyid=' + $copyButton.data('copytarget' ) + ']');
		if ( $pre.length ) {
			var textArea = document.createElement("textarea");

			// Place in top-left corner of screen regardless of scroll position.
			textArea.style.position = 'fixed';
			textArea.style.top = 0;
			textArea.style.left = 0;

			// Ensure it has a small width and height. Setting to 1px / 1em
			// doesn't work as this gives a negative w/h on some browsers.
			textArea.style.width = '2em';
			textArea.style.height = '2em';

			// We don't need padding, reducing the size if it does flash render.
			textArea.style.padding = 0;

			// Clean up any borders.
			textArea.style.border = 'none';
			textArea.style.outline = 'none';
			textArea.style.boxShadow = 'none';

			// Avoid flash of white box if rendered for any reason.
			textArea.style.background = 'transparent';

			//Set value to text to be copied
			textArea.value = $pre.text();

			document.body.appendChild(textArea);
			textArea.select();

			try {
				document.execCommand('copy');
				$copyButton.text( 'Copied').prop('disabled', true);;
			} catch (err) {
				$copyButton.text( 'FAILED: Could not copy').prop('disabled', true);;
			}
			setTimeout(function(){
				$copyButton.text( 'Copy').prop('disabled', false);;
			}, 3000);
                       textArea.remove();
		}
	});
});
And it is done. Now run your HTML page to test. The Copy button will appear on the code snippets under <pre> tags.
For the demo, you can refer to this page only. The Copy button is added on the above code snippets using the above code only.
Reference: Stephen Harris Gist

